Setting Up Google Tag Manager
This tutorial guides you through the process of signing up for Google Tag Manager and sharing access with us.
Updated 1 month ago
This tutorial guides you through the process of signing up for Google Tag Manager and sharing access with us.
Begin by navigating to tagmanager.google.com.
This is the first step to signing up for Google Tag Manager.
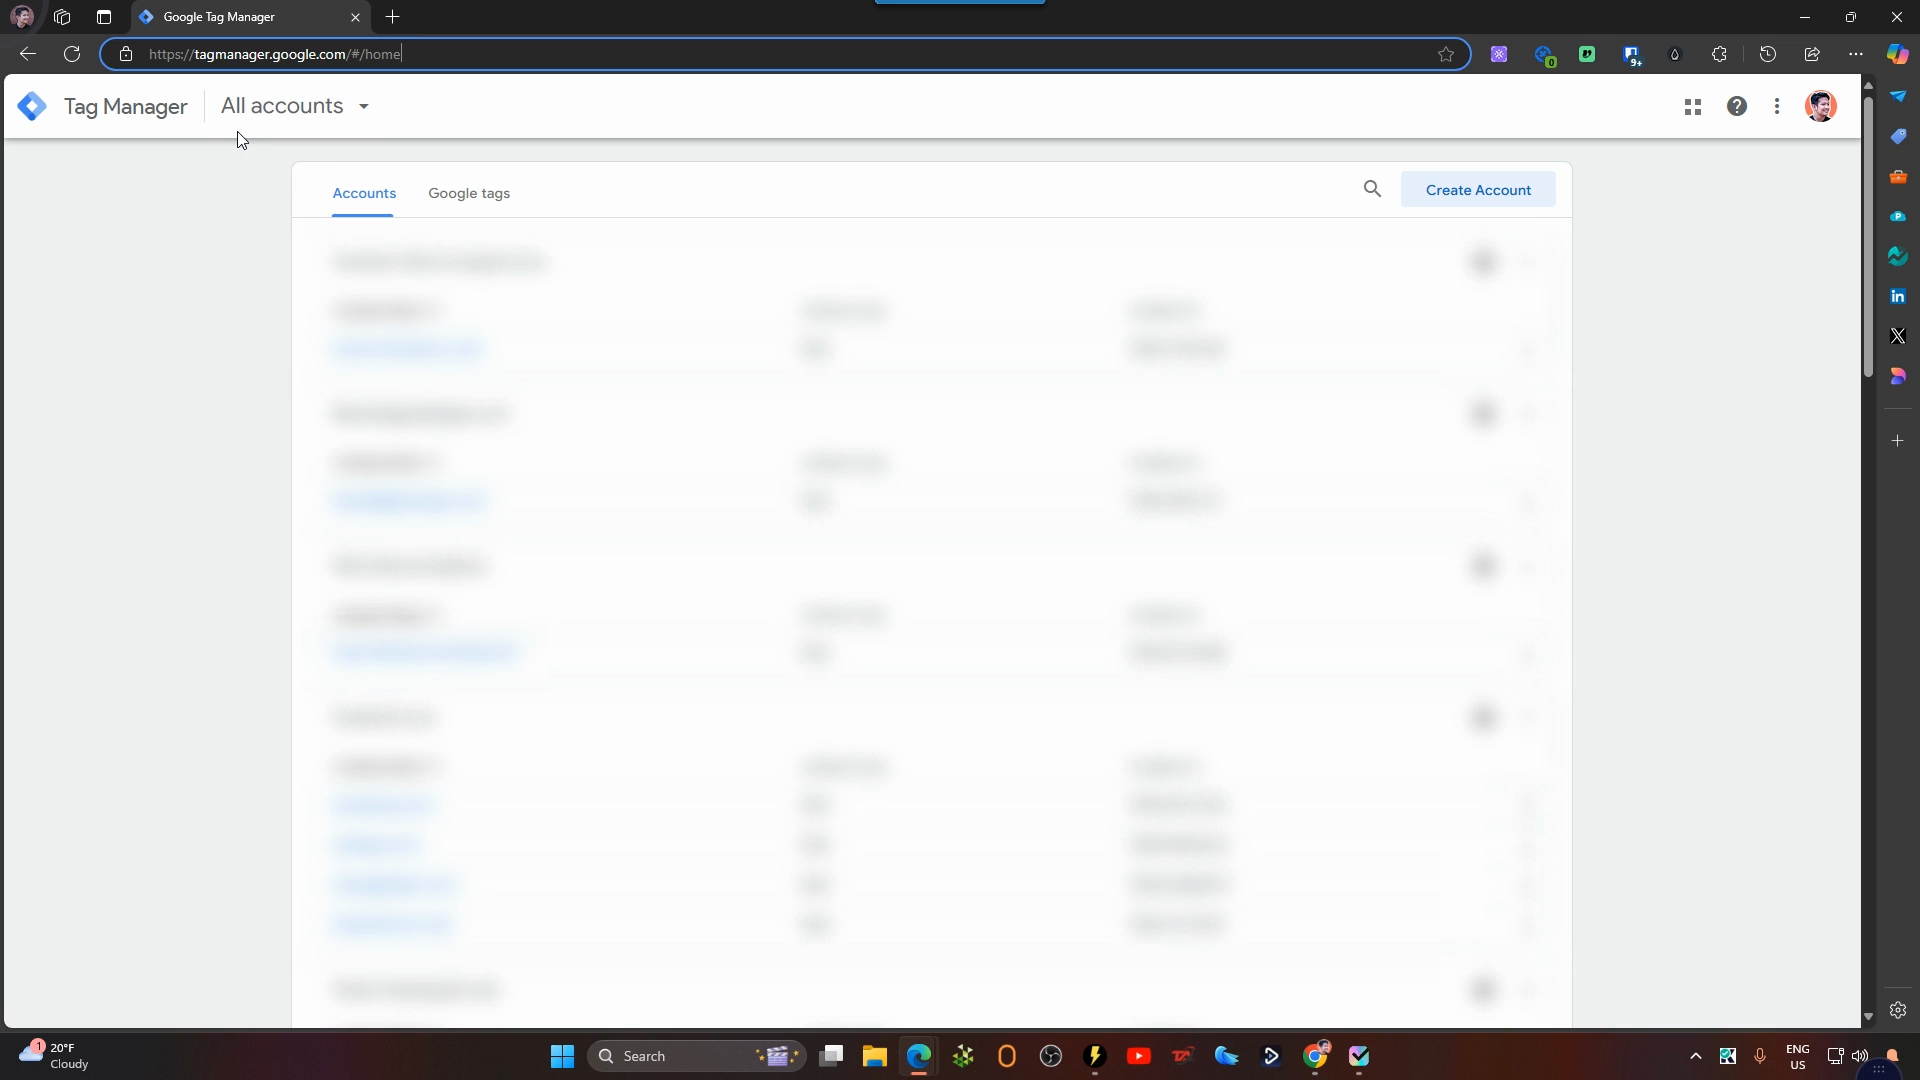
Ensure that you are signed in with your Google account.
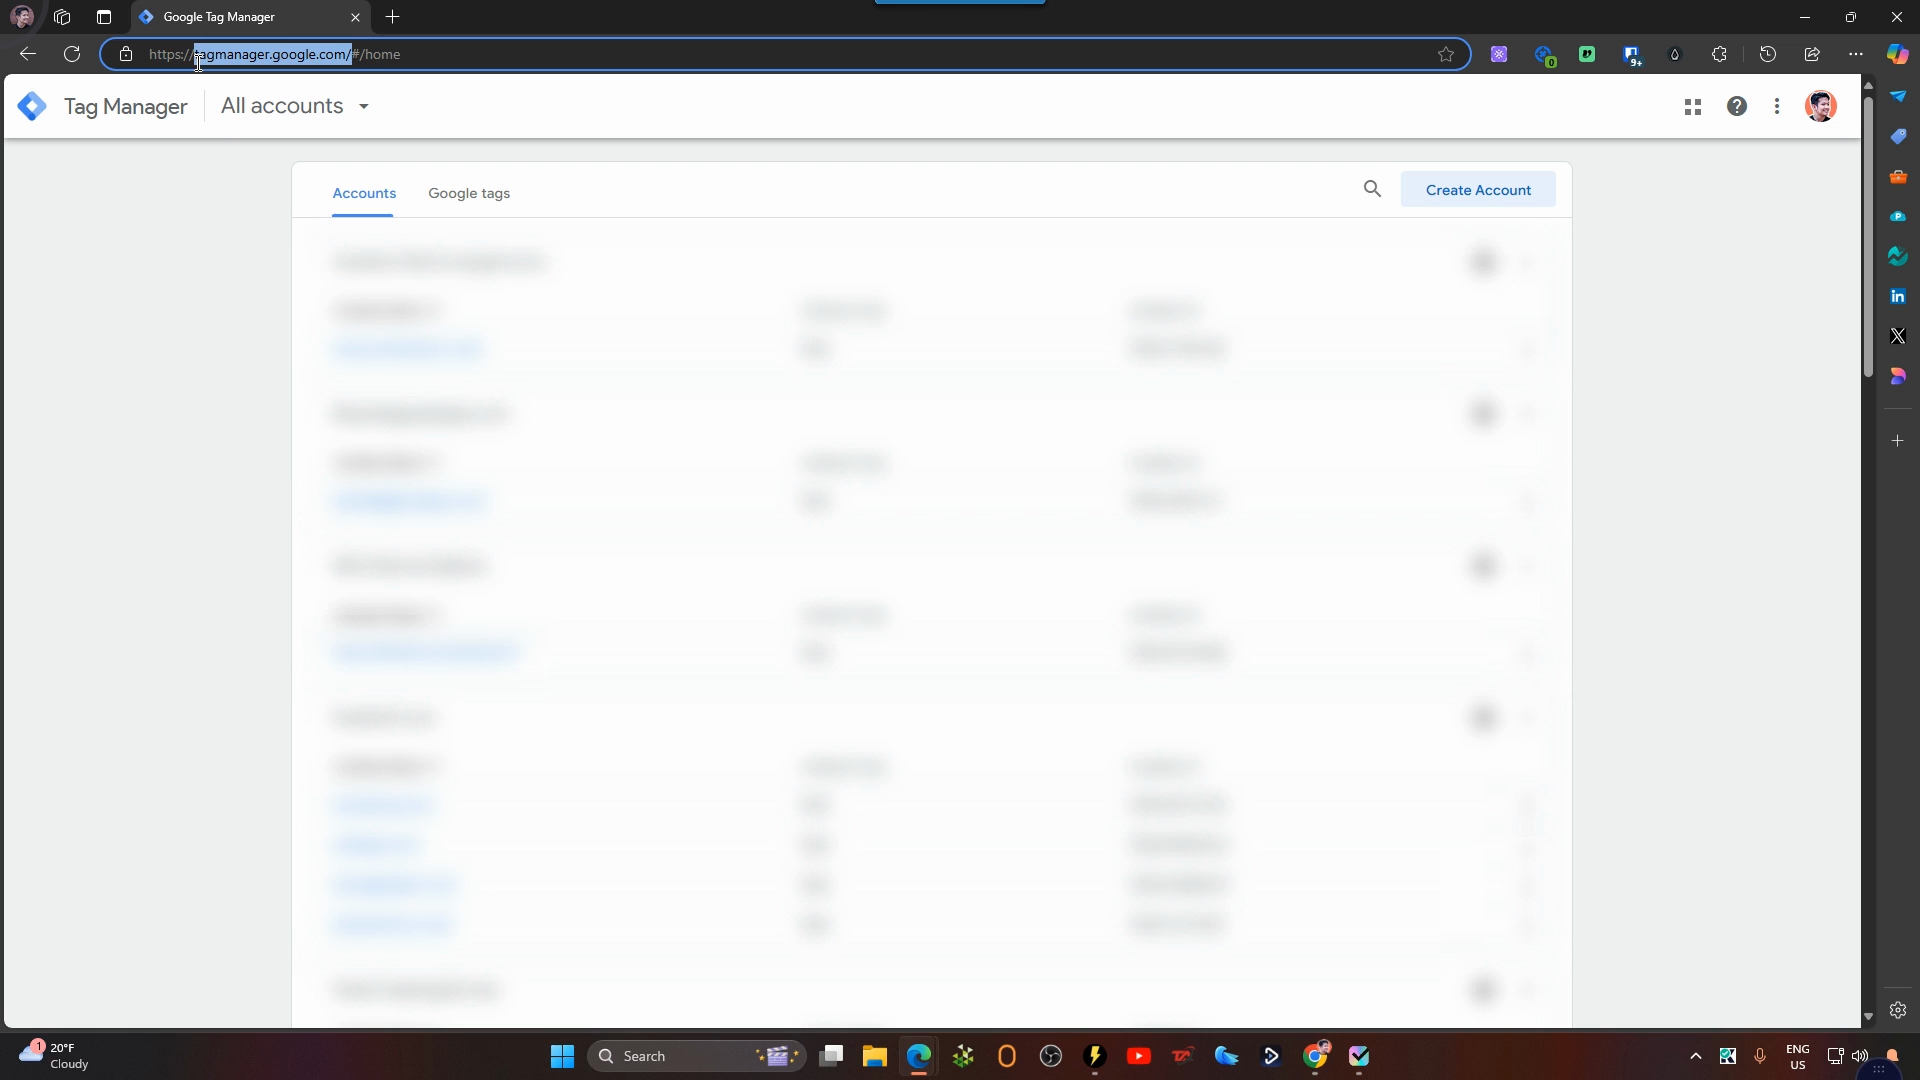
Next, click on Create Account and enter your company name or website URL.
Make sure to select your country and consider enabling the option to share data anonymously with Google and others for support.
You can also enter your website URL again in the provided field.
Choose Web as your target platform and click Create.
Finally, accept the terms.
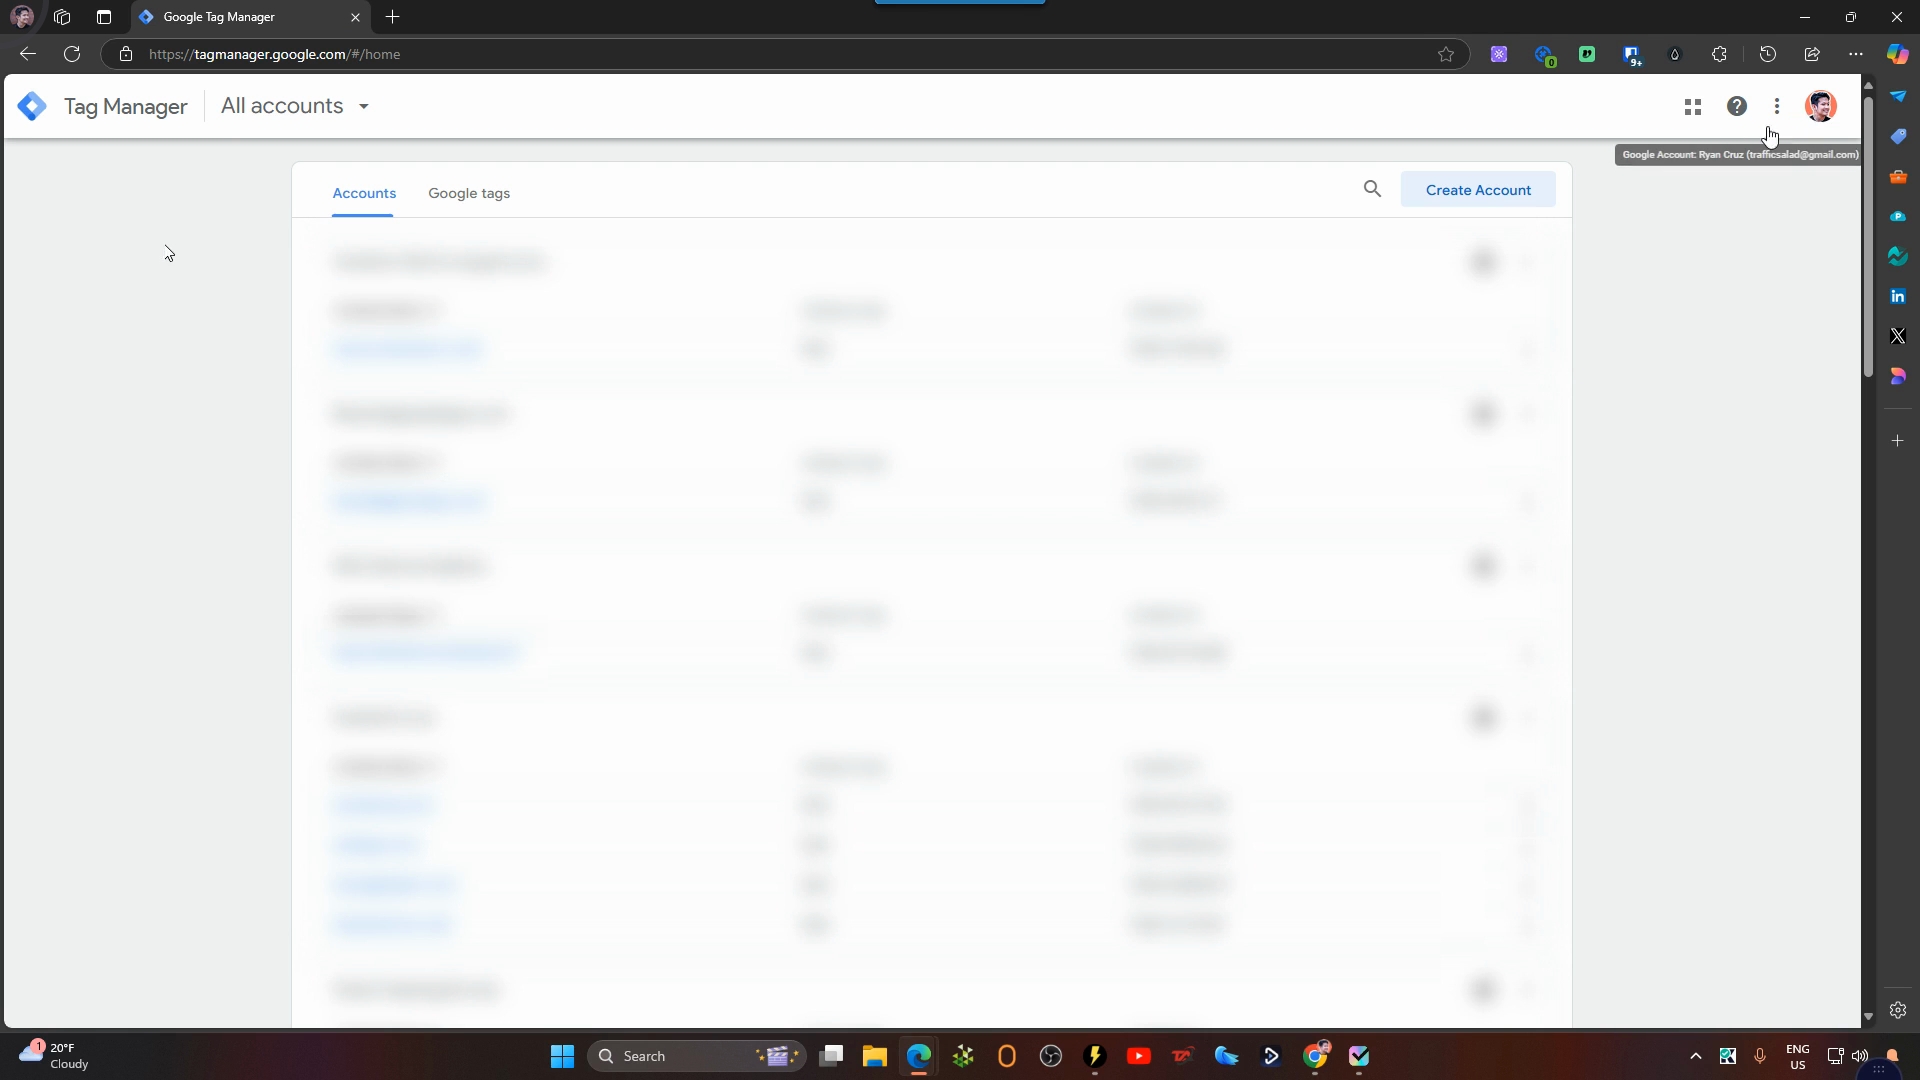
We will install Google Tag Manager for you, but first, we need access to your newly created Tag Manager account.
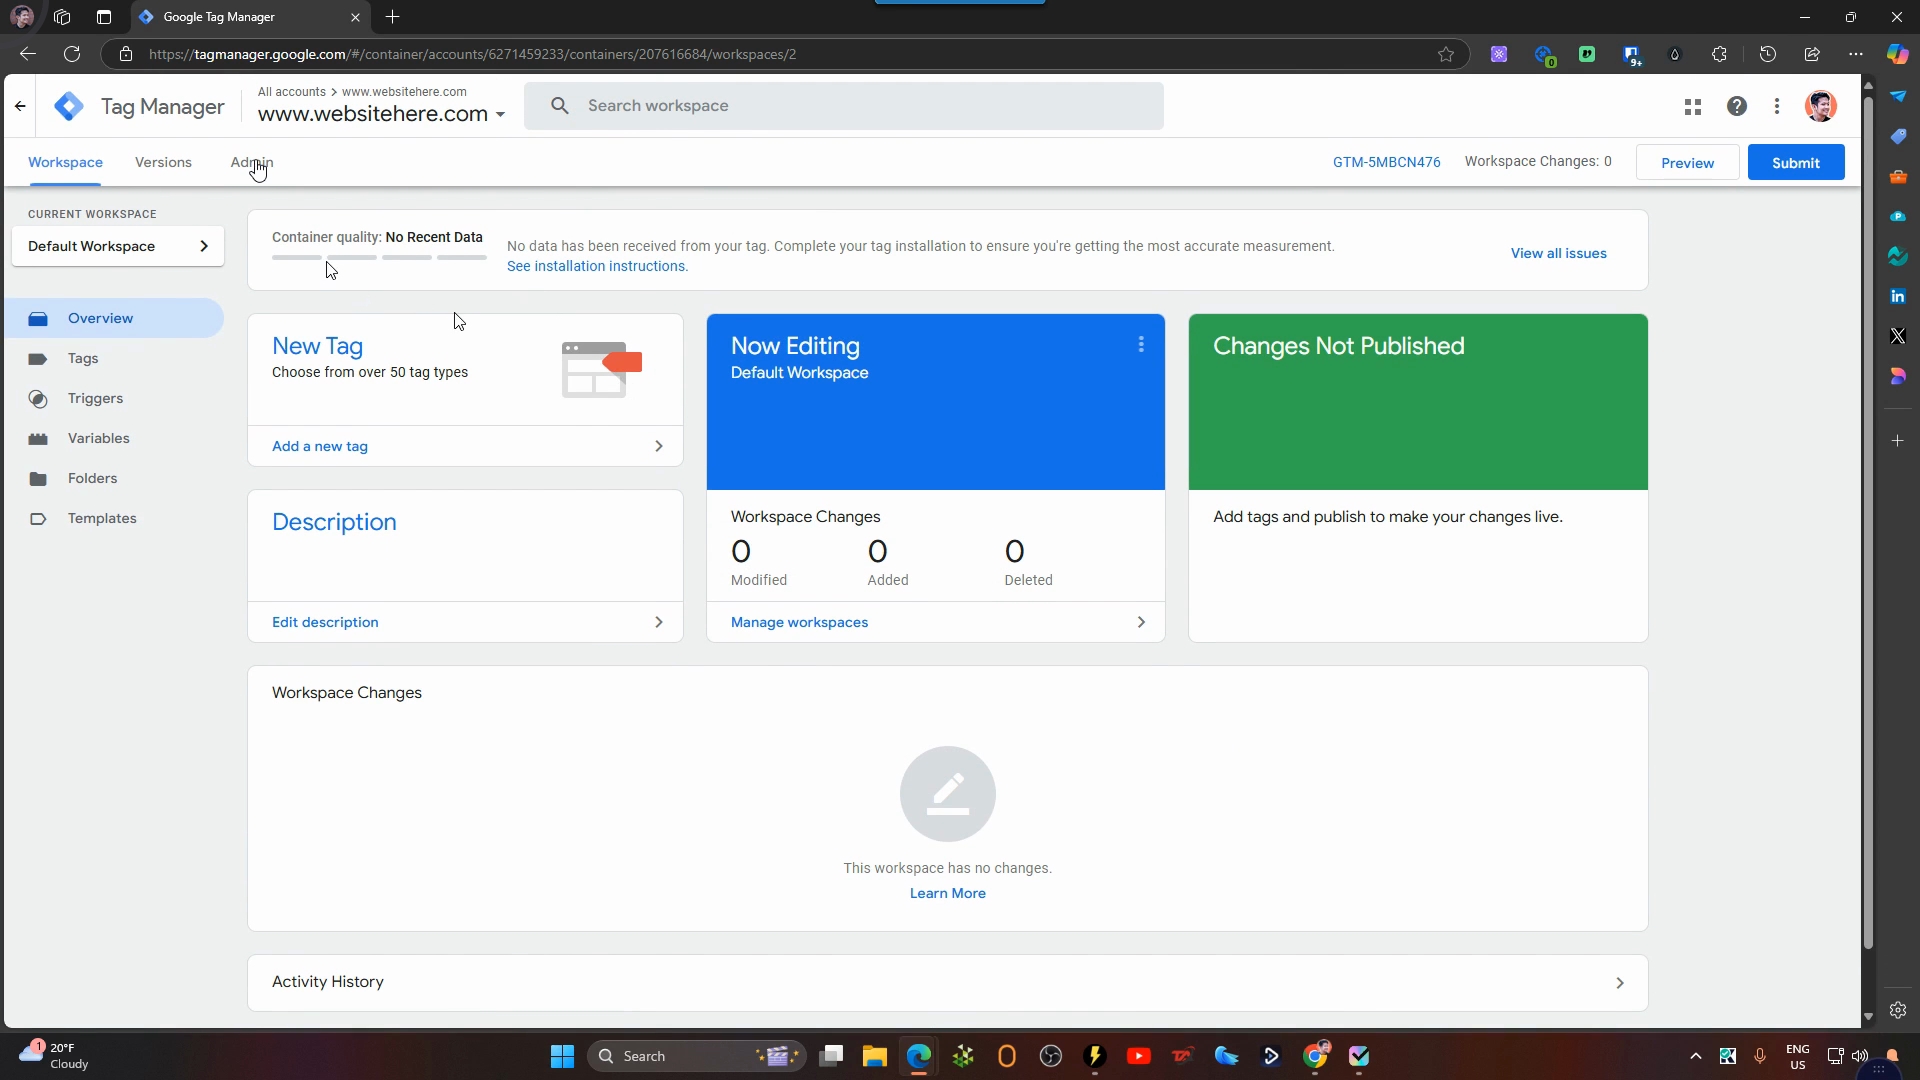
To grant access, go to the Admin section under user management.
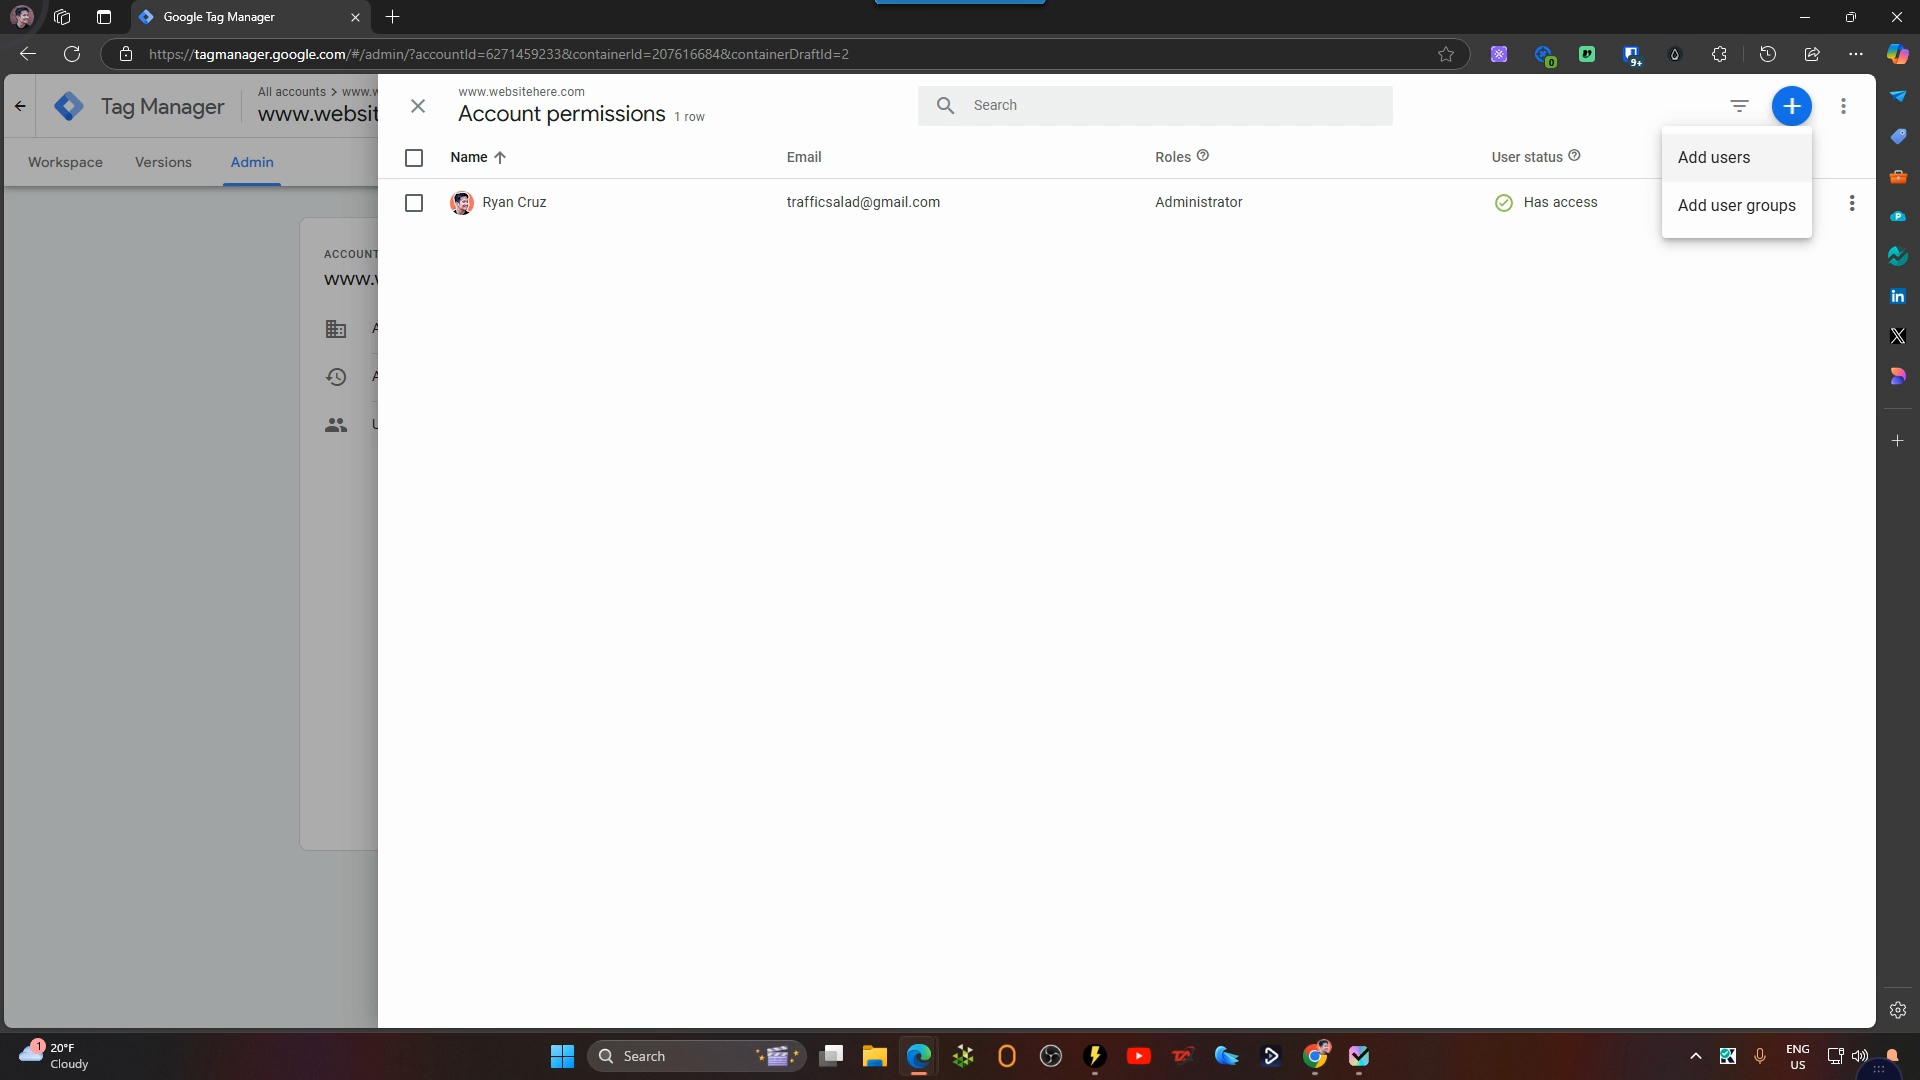
Make sure to add users by clicking the blue button.
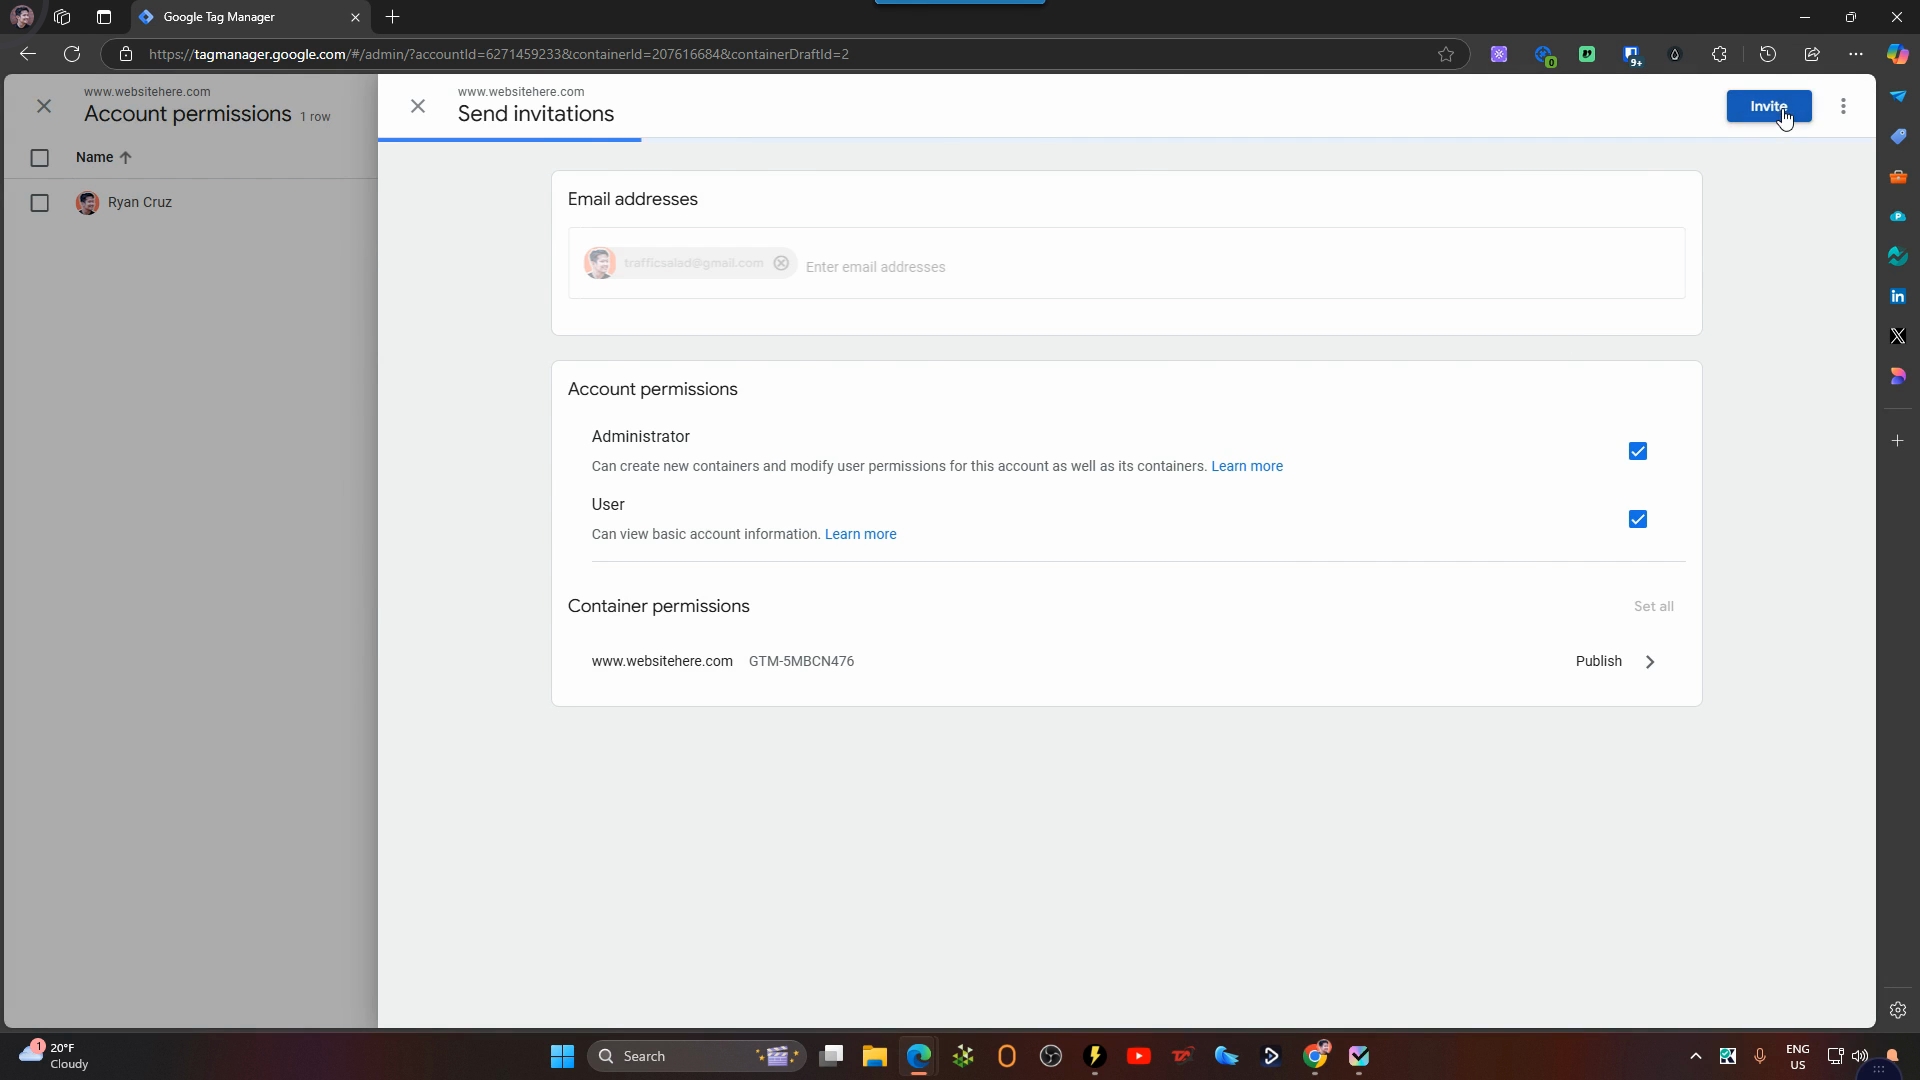
Add our email trafficsaladmail.com and select the administrator option.
Choose the publish permission and click Done.
Finally, click on Invite.
And there you have it! We will now have access to your Google Tag Manager account.
By following these steps, you have successfully set up Google Tag Manager and shared the necessary access with us.
